The Best Fluffy Pancakes recipe you will fall in love with. Full of tips and tricks to help you make the best pancakes.


How to Make Crispy Fried Chicken Perfectly!
Want perfectly crispy fried chicken every time? Learn the expert tips and tricks to get that golden, delicious texture. Learn how today!
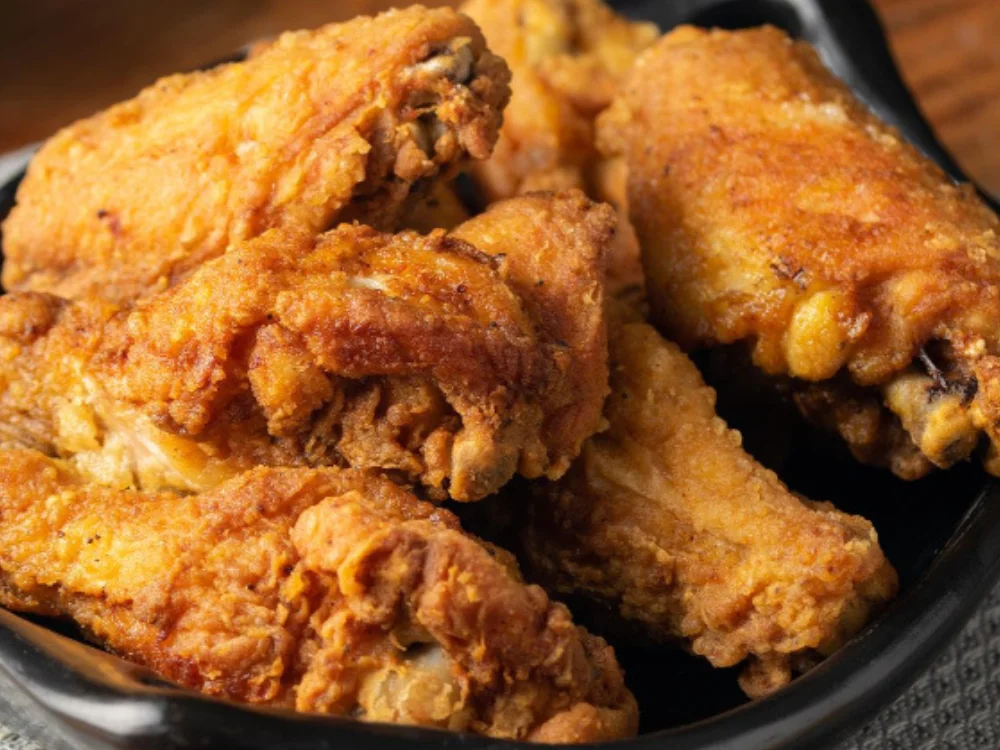
Table of Contents
How to Make Perfect Fried Chicken at Home
Making Fried Chicken at home might seem tricky, but with the right steps and ingredients, you can create a dish that rivals any restaurant version. The key is knowing how to balance seasoning, coating, and frying techniques to achieve that magical crispiness without drying out the meat. Once you master these fundamentals, you’ll be able to cook Fried Chicken that’s not only delicious but also consistently satisfying every time. Let’s break down the process step by step so you can start impressing your family and guests with your own homemade fried chicken magic .
Why Homemade Fried Chicken Is Worth the Effort
While store-bought fried chicken is convenient, there’s something special about making it from scratch. You control the quality of the ingredients, the level of seasoning, and the amount of crispiness you want. Plus, nothing beats the smell of freshly fried chicken filling your kitchen—it instantly makes your home feel cozy and welcoming. Best of all, once you learn the basics, you can customize your recipe to suit your taste, whether you prefer spicy, herby, or sweet flavors in your Fried Chicken .
What Sets Restaurant-Style Fried Chicken Apart
Restaurant-style Fried Chicken often looks picture-perfect because chefs use specific tricks like brining, double-frying, or using certain types of flour blends. However, you don’t need fancy equipment or rare ingredients to recreate that same magic at home. By following a few simple techniques—like letting the chicken rest after frying or using the right oil temperature—you can achieve that same golden, crunchy crust that makes Fried Chicken so irresistible .
Why Fried Chicken Deserves a Spot on Every Meal
There’s a reason Fried Chicken has stood the test of time and remains a beloved comfort food across cultures. It’s more than just a dish—it’s an experience. From backyard barbecues to holiday dinners, Fried Chicken brings people together with its rich flavor and satisfying texture. Whether you’re feeding a crowd or enjoying a quiet meal alone, this classic dish has a way of turning ordinary moments into something memorable. And the best part? It pairs well with almost anything, from mashed potatoes to fresh coleslaw or even a simple side of pickles and biscuits .
The Universal Appeal of Fried Chicken
One of the biggest reasons Fried Chicken is so popular is its universal appeal. Kids love the crispy exterior, adults appreciate the depth of flavor, and everyone enjoys the comforting warmth it brings. It’s also incredibly versatile—you can serve it hot, cold, or even as leftovers reheated the next day. No matter your age or taste preference, there’s a version of Fried Chicken that will make your mouth water .
A Comfort Food Classic That Never Goes Out of Style
From Southern kitchens to Asian street food stalls, Fried Chicken has evolved into countless variations around the world. Whether it’s Korean-style yangnyeom chicken, Japanese karaage, or classic American Southern fried chicken, each version brings something unique to the table. Yet, despite all the variations, one thing remains constant—the joy of biting into that crispy, golden shell and discovering the tender, juicy meat inside .
7 Tips for Perfect Fried Chicken Every Time
Getting Fried Chicken just right requires more than just tossing chicken pieces into a fryer. There are several key tips and tricks that can help you avoid common mistakes and ensure your chicken turns out perfectly crispy and flavorful every single time. These strategies cover everything from preparation to frying technique, giving you the confidence to cook Fried Chicken like a pro—even if you’re a beginner .
Patting the Chicken Dry Before Coating
One of the most important steps in making Fried Chicken is patting the chicken dry before coating it in flour. Moisture is the enemy of crispiness, so using paper towels to remove excess moisture helps the coating stick better and ensures a crispier final result. This small but crucial step makes a big difference in the texture of your Fried Chicken .
Using a Combination of Flours and Starches
For an extra-crispy finish, many chefs recommend using a combination of all-purpose flour and cornstarch in the coating. Cornstarch adds lightness and helps create a shatteringly crisp crust that stays crunchy even after sitting for a bit. You can also experiment with other starches like potato starch or rice flour for different textures and flavors in your Fried Chicken .
The Easiest Fried Chicken Recipe You’ll Master!
If you’re new to making Fried Chicken, don’t worry—we’ve got a foolproof recipe that’s easy enough for beginners but still delivers that professional-level crispiness and flavor. With just a handful of ingredients and a little patience, you’ll be able to whip up a batch of Fried Chicken that’s sure to impress. This recipe is designed to be straightforward, so you can focus on enjoying the process rather than stressing over complicated steps .
Keeping the Ingredients Simple and Accessible
The beauty of this Fried Chicken recipe lies in its simplicity. You won’t need any exotic spices or hard-to-find ingredients—just basic pantry staples like flour, salt, pepper, garlic powder, and baking powder. Some recipes even call for soda crackers or breadcrumbs for a different twist on the traditional coating .
Step-by-Step Instructions for Foolproof Results
Follow these easy steps to make Fried Chicken that turns out perfectly every time:
- Prepare the chicken: Use bone-in, skin-on pieces for maximum juiciness.
- Season generously: Rub the chicken with salt, pepper, garlic powder, and paprika.
- Make the batter: Combine flour, baking powder, and spices in a bowl.
- Dip and coat: Dip each piece in beaten eggs or buttermilk, then dredge in the flour mixture.
- Let it rest: Allow the coated chicken to sit for 10–15 minutes so the coating adheres better.
- Heat the oil: Use vegetable oil or shortening and heat it to 350°F (175°C).
- Fry until golden brown: Cook each piece for about 6–8 minutes per side.
- Drain and rest: Place the fried chicken on a wire rack to drain excess oil and let it rest for 10 minutes before serving .
Overview: What Makes This Fried Chicken Recipe Special
This Fried Chicken recipe stands out because it balances simplicity with exceptional results. Unlike some complicated methods that require marinating overnight or double-frying, this approach delivers crispy, flavorful chicken in under an hour. The use of baking powder in the flour mixture gives the crust an airy, crackling texture that stays crispy longer. Additionally, the option to use either buttermilk or regular egg wash allows flexibility based on what you have in your kitchen. Whether you’re cooking for a weeknight dinner or preparing a batch for guests, this recipe is both reliable and delicious .
Essential Ingredients for Perfect Fried Chicken
Creating the ultimate Fried Chicken starts with choosing the right ingredients. Here’s a list of essential components and why they matter:
- Chicken Pieces (Bone-In, Skin-On Preferred) – Bone-in chicken retains moisture better during frying and adds more flavor compared to boneless cuts .
- Flour (All-Purpose or a Mix with Cornstarch) – Provides structure and creates a crispy crust. Mixing with cornstarch enhances crispiness .
- Baking Powder – Helps the coating puff up slightly, resulting in a lighter, crispier finish .
- Salt & Spices (Garlic Powder, Paprika, Cayenne Pepper) – Adds depth of flavor and enhances the overall taste .
- Buttermilk or Egg Wash – Acts as a binder, helping the flour coating stick to the chicken and adding moisture .
- Oil (Vegetable Oil, Peanut Oil, or Shortening) – Ensures even frying and contributes to the final texture .
Substitutions & Variations:
- For gluten-free fried chicken, use a gluten-free flour blend or almond flour.
- Add crushed soda crackers or breadcrumbs to the flour mixture for extra crunch .
- Experiment with different seasonings like Cajun spice, smoked paprika, or chili powder for a personalized twist .
Step-by-Step Instructions for Making Fried Chicken
Now that you know what makes this Fried Chicken special, let’s walk through the full process from start to finish:
Step 1: Prepare the Chicken
Start by selecting high-quality chicken pieces. Bone-in, skin-on thighs and drumsticks work best for Fried Chicken because they stay moist and flavorful during frying. Rinse them under cold water and pat them dry thoroughly with paper towels. Excess moisture prevents the coating from sticking properly, so this step is crucial .
Step 2: Season the Chicken
In a small bowl, mix together 1 teaspoon of salt, 1 teaspoon of garlic powder, 1 teaspoon of paprika, and a pinch of cayenne pepper (optional for heat). Rub this seasoning mixture all over the chicken pieces, making sure to coat both sides evenly. Let the chicken sit for at least 15 minutes to absorb the flavors .
Step 3: Make the Coating Mixture
In a separate bowl, combine 2 cups of all-purpose flour, 1 tablespoon of baking powder, and another teaspoon of salt. You can also add additional spices like onion powder or black pepper for extra flavor. If you want an even crispier crust, replace half of the flour with cornstarch .
Step 4: Prepare the Wet Ingredients
Beat two large eggs in a shallow bowl and add ½ cup of milk or buttermilk to create an egg wash. Alternatively, you can skip the eggs and dip the chicken directly into buttermilk before coating it in flour. Both methods work well, but buttermilk adds a slight tang and helps tenderize the chicken .
Step 5: Coat the Chicken
Dip each seasoned chicken piece into the egg wash, allowing any excess to drip off. Then press it firmly into the flour mixture, ensuring it’s fully coated on all sides. Shake off any loose flour and place the coated chicken on a plate. Let it rest for 10–15 minutes so the coating sets before frying .
Step 6: Heat the Oil
Choose a heavy-bottomed skillet or deep fryer and fill it with about 1 inch of oil. Vegetable oil, peanut oil, or shortening works best for frying chicken. Heat the oil to 350°F (175°C)—you can test it by dropping a small piece of flour-coated chicken into the oil; if it sizzles immediately, the oil is ready .
Step 7: Fry the Chicken
Carefully place the chicken pieces into the hot oil, making sure not to overcrowd the pan. Cook each piece for about 6–8 minutes per side, or until golden brown and crispy. Use tongs to flip them gently halfway through cooking. Avoid pressing down on the chicken with a spatula, as this can squeeze out juices and lead to dry meat .
Step 8: Drain and Rest the Chicken
Once the chicken is cooked through and reaches an internal temperature of 165°F (74°C), transfer it to a wire rack set over a baking sheet. This allows excess oil to drain away while keeping the crust crisp. Let the chicken rest for 10 minutes before serving to allow the juices to redistribute .
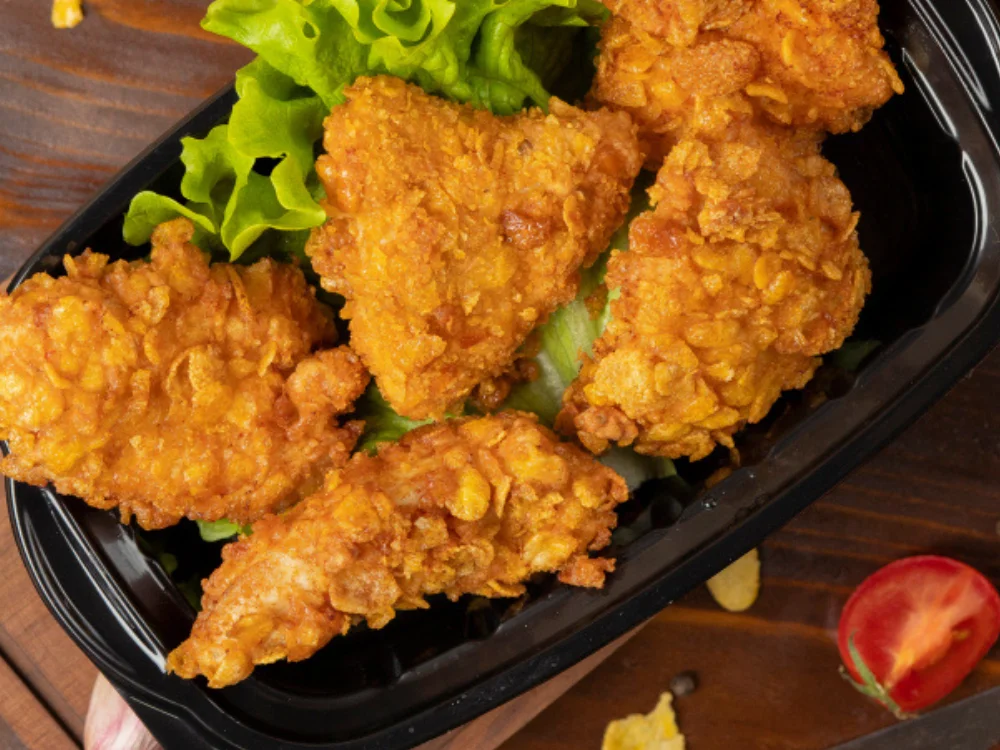
Assembly: Building Your Fried Chicken Plate
Serving Fried Chicken is just as important as cooking it. To build the perfect plate, consider pairing it with classic Southern sides like mashed potatoes, coleslaw, macaroni and cheese, or cornbread. For a lighter option, serve it with a fresh green salad or pickled vegetables. Presentation matters, so arrange the chicken neatly on a platter and garnish with chopped parsley or sliced lemon wedges for a pop of color and freshness .
Storage and Make-Ahead Tips
If you have leftover Fried Chicken, store it properly to maintain its crispiness and flavor:
- Refrigeration: Place cooled chicken in an airtight container and refrigerate for up to 3–4 days.
- Reheating: The best way to reheat Fried Chicken is in a preheated oven at 375°F (190°C) for 10–15 minutes. Avoid microwaving, as it can make the crust soggy .
- Freezing: Freeze uncooked battered chicken pieces on a baking sheet before transferring them to a freezer-safe bag. When ready to cook, fry them straight from frozen, adding a few extra minutes to the cooking time .
Recipe Variations
Don’t be afraid to get creative with your Fried Chicken! Try these fun twists to change things up:
- Spicy Fried Chicken: Add more cayenne pepper or hot sauce to the coating for a fiery kick.
- Herb-Crusted Chicken: Mix dried herbs like thyme, rosemary, or oregano into the flour for a fragrant twist.
- Korean-Style Fried Chicken: After frying, toss the chicken in a sweet-spicy gochujang-based sauce for an Asian-inspired flavor .
- Gluten-Free Fried Chicken: Substitute regular flour with a gluten-free flour blend or almond flour for a low-carb option .
Conclusion
Making Fried Chicken at home doesn’t have to be intimidating. With the right ingredients, a few simple techniques, and a bit of practice, you can create a dish that’s crispy, juicy, and absolutely delicious. Don’t be afraid to experiment with different coatings, seasonings, or dipping sauces to find your perfect version of Fried Chicken. Cooking should be fun, and this classic comfort food is the perfect canvas for creativity. So grab your apron, fire up the oil, and get ready to enjoy the most satisfying homemade Fried Chicken you’ve ever made!
Frequently Asked Questions (FAQs)
Q1: Can I use boneless chicken for Fried Chicken?
A1: Yes, you can use boneless chicken breasts or thighs, but keep in mind that they tend to dry out faster than bone-in pieces. To compensate, marinate them in buttermilk or brine them beforehand for added moisture .
Q2: What oil is best for frying chicken?
A2: Peanut oil is ideal due to its high smoke point and neutral flavor, but vegetable oil, canola oil, or shortening also work well. Avoid olive oil, as it has a lower smoke point and can burn easily .
Q3: Is Fried Chicken healthy?
A3: While Fried Chicken is indulgent, you can make healthier versions by baking instead of frying or using air fryers. Choosing leaner cuts of chicken and reducing sodium in the seasoning also helps improve its nutritional profile .
Q4: Can I prepare Fried Chicken ahead of time?
A4: Yes, you can prep the chicken and coat it in advance, then refrigerate it for up to 24 hours before frying. This allows the flavors to develop even more .
Q5: How do I keep Fried Chicken crispy after frying?
A5: Place the fried chicken on a wire rack instead of a plate to prevent steam from softening the crust. If reheating, use an oven instead of a microwave to maintain crispiness .
By answering these common questions, you’ll be fully equipped to prepare, enjoy, and store your Fried Chicken with confidence and ease.